Once your marijuana plants have established a stable root system, they are ready for a period of major foliage growth. It’s time to set up your permanent growing system. To accomplish this, you will need to learn how to safely transplant your young crop and to decide where you can permanently house your marijuana plants.
No matter what system you used to sprout your marijuana seeds, you are eventually going to need to move the plants from their original container to a more permanent environment. The process of moving your plants from one container to another is a serious step in plants growth. If the transplant is done poorly, the plant can suffer from shock—leaves will turn yellow, wither and eventually die. If the trauma is too severe, the whole plant will eventually succumb. If done correctly, transplanting can allow your plant to reach maturity rapidly and with minimal support and care. Download my free marijuana grow bible for more tips about transplanting marijuana plants.
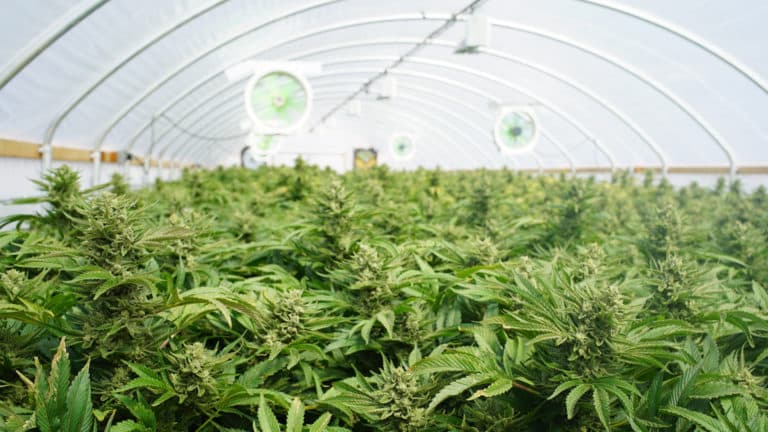
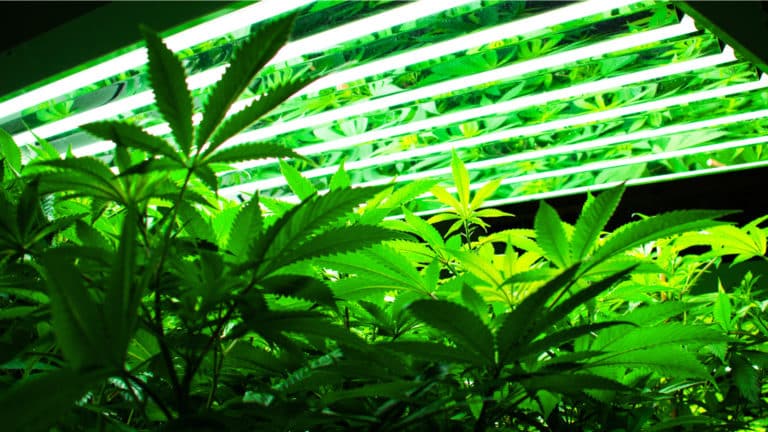
Now is also the time to decide how you want to set up your permanent growing environment. Some cannabis growers choose to keep their entire crop indoors, their plants growing in large individual containers. This situation allows for much more environmental control but also demands more resources and energy to be expended by the grower. Everything from light to food and water must be provided by human engineering. Other growers choose to plant their marijuana directly in the earth. This can lead to a much less costly experience in terms of time and energy. But picking a permanent outdoor site raises several major issues for any grower. Not only does the location have to meet certain horticultural standards, but crop security, personal safety, and overall accessibility all have to be considered.
Transplanting: When and How to Transplant
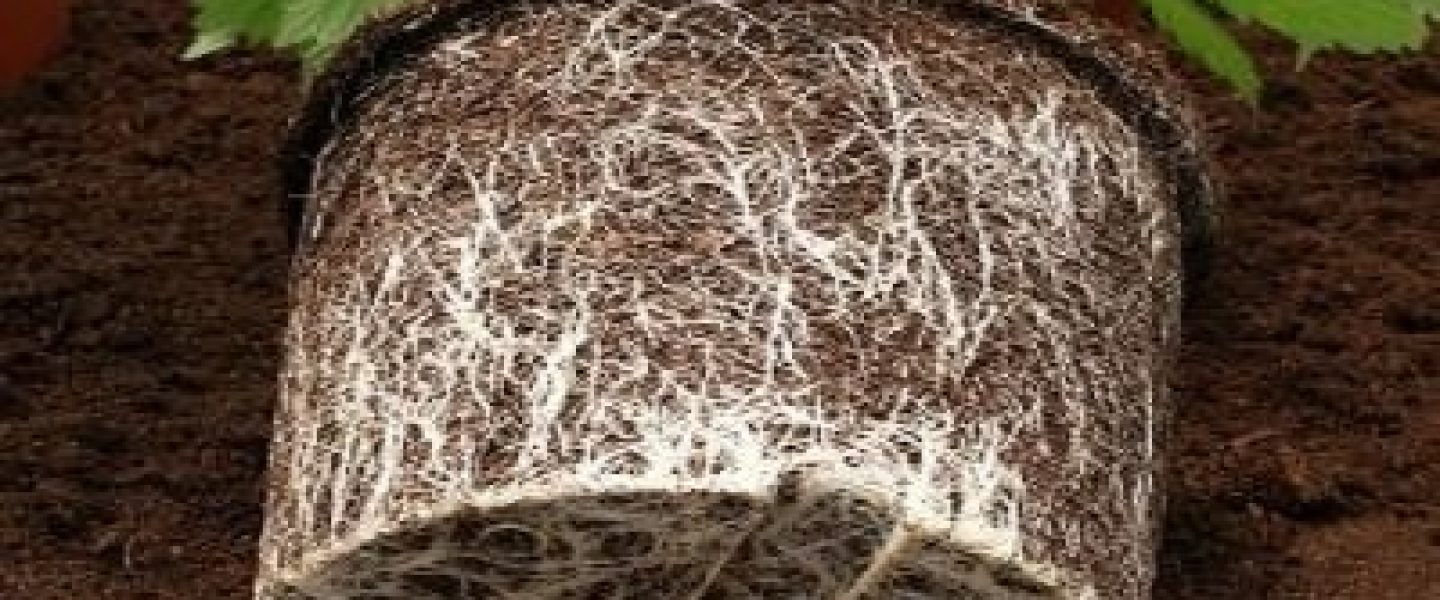
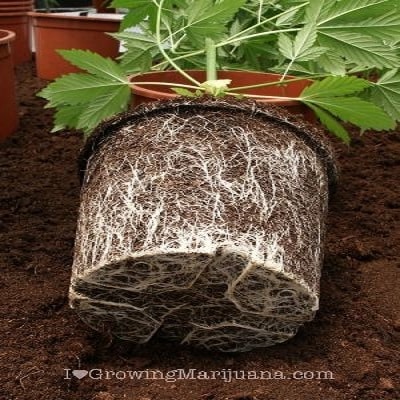
Cannabis plants seem to have a mind of their own, and whatever container you start yours in, they will rapidly expand their root systems to reach the wails that contain them. (Oddly, because plants in open ground seem less anxious about their freedom, and seldom develop root balls greater than 18 inches in diameter; but let a plant mature in a 55-gallon drum, and its roots will reach to its walls.) If a plant becomes root-bound, as marijuana plants are likely to do in any container whose capacity is under 4 gallons, it just stops growing.
The same problem is seen with peat plugs; just when a plant begins to take off for its spring growing spurt, its roots become bound by the fine mesh that covers and holds peat plugs in shape. In a perfect world all plant roots can easily grow through this delicate netting, but in the real world most marijuana plants will become trapped and root-bound, and will cease to grow.
When to Transplant
As your marijuana plants thrive they will begin to move from the “sprouting” stage into the “seedling” stage. Marijuana plants are still quite small during this ‘” seedling” stage. After sprouting your seeds, you will see two oblong leaves (“cotyledons”) emerge from the small stem that has risen from the dirt. Within a few days these two odd leaves will give way to “true leaves” that are visibly recognizable as marijuana leaves. This stage is critical for root growth, and while you may not see a lot going on above the dirt, your plants will be busy establishing a fragile but essential root system in whatever sprouting medium you chose.
Your plants are too young to move during the “seedling” stage, but as with the “sprouting” stage, you need to make sure your plants are provided with light and constantly moist dirt. This stage of life will usually last anywhere from two to six weeks.
You will know your plant is ready to move by the sudden increase in rapid leaf growth. More and more “true leaves” will begin appearing, and the stem will be firm enough for you to grasp gently without damaging the plant. Once you start to notice these changes, your plant is officially moving from the “seedling” stage to the “vegetative” growth phase.
Peat plugs are a great way to start your crop earlier when you live where growing seasons are short, but be prepared to transplant seedlings to a larger pot or to the outside as soon as you can see white root tendrils emerging beneath the mesh, or you might stunt the plant’s growth permanently.
How to Transplant
Any grower has three basic options when replanting vegetative-stage marijuana. First, you can decide to continue growing your plant indoors in an easily accessible but discreet location. Second, you can pick a location in the great outdoors where you can monitor your crop while taking advantage of natural resources like water and sunlight. Third, you can decide to move your plant into a larger container (a 55-gallon barrel, for example) and then move that container to a temporary outdoor location. This third option allows for rapid crop relocation to avoid hazards such as law enforcement detection or the unexpected appearance of local pests.
There are definite advantages and disadvantages to all three situations. But for the most part, the actual process of moving your plant(s) from one container to another is fairly straightforward.
Whether you’re moving a plant directly into the ground, or you’re popping your weed in a larger potting vessel (we recommend an absolute minimum container size of 4 gallons per plant), the first step is to prepare new soil to receive your plants. If you’re working in the ground, dig a hole several inches larger than the pot from which a transplant will be taken, but leave excavated soil piled around the outside of the hole, where it can be pushed back in place after transplanting. It is important to transplant plants with the soil in which they have been growing; this helps to eliminate shock that might occur from a sudden change in habitat (closet-grown plants seem especially prone to shock), and eases a plant’s transition from potting soil to natural dirt.
Make sure that soil in the pot being transplanted is moist; not so wet that it becomes mud, and not so dry that it crumbles, but moist enough to be firm and to stick together in the shape of its container. Next, place your hand palm-down over the soil in the original container (so that the stalk is between your middle fingers). Place your other palm under the pot’s bottom, and in one smooth motion turn the pot upside down, emptying its contents into the hand around the stalk. Put down the discarded container and place your free hand under the plant’s bottom (white root tendrils should be visible) and gently lower the roots into the hole you’ve dug for them.
If chunks of dirt break off from the root ball, don’t worry; just get the roots immediately into the ground and re-covered with soil. Surrounded by good soil instead of water, there is no more need to hold a peat plug together, so the mesh surrounding them should be torn free entirely and thrown away. Saturate the soil all around the plant with a gallon of water enriched with the prescribed amount of plant food. Finally, cover over exposed soil around the transplant with leaves and ground debris from the surrounding area, not only to make the plant less noticeable but also to inhibit the evaporation of water from below.
If you want to start growing, download my free grow guide and order some marijuana seeds. All top quality marijuana seeds are available in my marijuana seed shop. We ship seeds to the US, CA and many other countries. For any growing related question please visit the marijuana support page.
Source: ILoveGrowingMarijuana.Com


